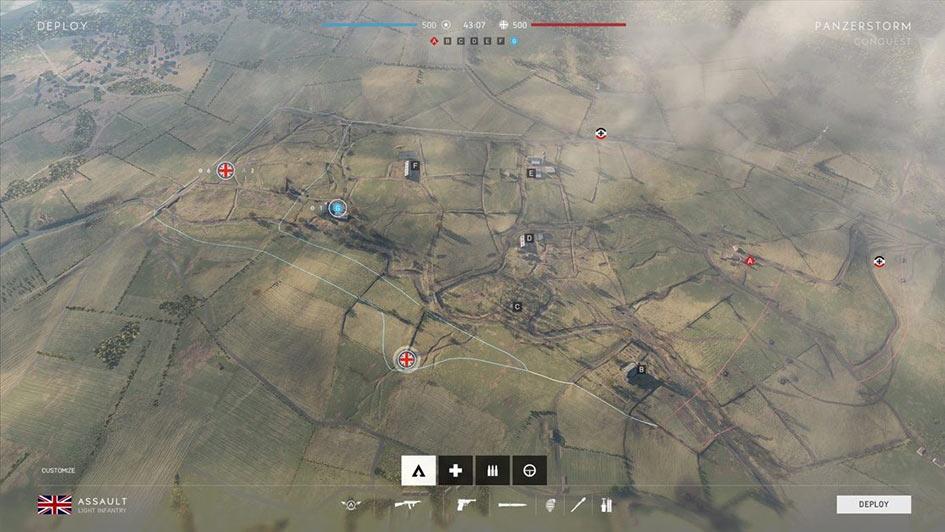
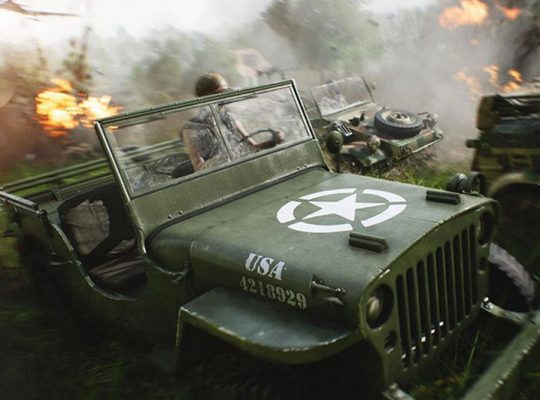
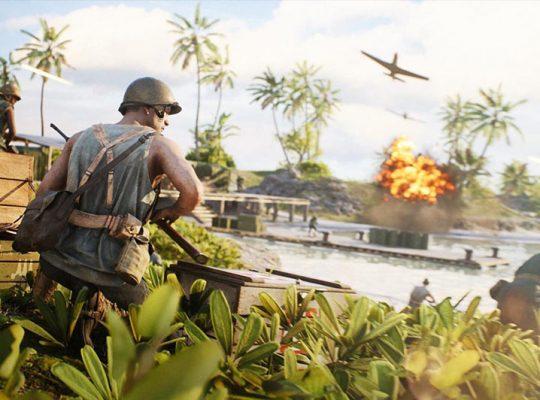
Tides of War Chapter 1: Overture is the Battlefield V Panzerstorm map, a massive terrain of fields excellent for vehicular combat.
Battlefield V Panzerstorm Map: Mobilize your tanks and carve a path of destruction for a different type of countryside tour. This overview of Panzerstorm will help infantry and tankers scour the green acres for enemies.
Map Overview
Panzerstorm is loosely based on the Battle of Hannut, fought in Belgium during the second year of World War 2. The German forces have ripped through a small municipality, smashing into British defensive forces. In the aftermath, tank husks litter the otherwise beautiful landscape now ready for the taking.
Battlefield V Panzerstorm at a Glance
This overview is specific to the Conquest mode, as it is currently the only game mode playable on this map.
Units: Infantry – Tanks – Aircraft
Size: Very Large
Tempo: Moderate-Fast
Playstyle
Tanks. Tanks everywhere.
Up to 17 tanks can roam the map at once, with an additional three called in from Reinforcements. The map’s size allows for spread out tank skirmishes but is large enough to leave room for alternate battle strategies. If you crew a tank, try rolling in a group of them to maximize your ability to fight back. As a solo tank, use the terrain to peek fire from behind hills or structures. As always, watch your flank!
Going alone as infantry is a death wish on this map. However, a good squad can dominate tanks as there are enough trenches to fortify and spring an ambush from. Fortification opportunities are abundant – no, they can’t stop a tank round, but a sandbag wall might lessen the impact. Also, there’s a plane for each team for air support and spots to build Anti-Tank guns.
Available Game Modes
Conquest – An all-time Battlefield classic, this vast game mode includes up to 64 players who battle for control of key locations on the map.
Capture Point A: Farmers Row
This serves as the rear capture point for the Axis forces, closest to one of their default spawn points. A quiet town of small houses, it’s been abandoned by Allies during the Axis push. The Allies aim to reclaim the town, so fortify these structures to stave off the incoming push from Flags B, C, D, and E. If you fail, the row of houses can be almost entirely leveled by destruction. Hunker down and use cover to attack approaching tanks.
Capture Point B: Riverside Church
If you find your squad caught in the tank crossfire, take hold of the small church marking Flag B. Situated next to a shallow river, the capture point is surrounded by the graves of the long dead French, a stark reminder of what awaits should you peek from the windows at the wrong time.
The area is also a good space to position towable guns, and the top of the church tower is an ideal sniper position before it gets destroyed.
Capture Point C: Forest Cabin
One of two forward capture points for the Allies, a dense cluster of trees provide natural cover next to the river. The small cabin in the center has been evacuated and can now be used as a key defensive position. Like G and B, a river runs through it and is an obvious path for flanking.
Expect collateral damage from the tug-of-war battles happening at the nearby Flag D.
Capture Point D: Central Battery
Trenches and gullies around this Flag give infantry cover from the roaming tanks. This hastily dug out location is stocked with anti-tank and anti-air weapons. Build these soon after capping the point to fend off tanks from either end and enemy aircraft. As infantry, move between the two empty homes to keep the enemy guessing.
The Central Battery is trapped between the natural Flag points of both Allied and Axis spawn points. This one won’t be easy as it’s also found in the center of the map.
Capture Point E: Dairy Farm
The second forward capture point for the Axis forces, the Dairy Farm sits atop of a hill and is formed by buildings that can be Fortified against foes, particularly those coming from Flag F. The terrain’s slope offers advantageous views of Panzerstorm, making it a prime location to scout or snipe.
Capture Point F: Swine Farm
A lone building, whose smell would have otherwise kept people away, is now a prime location to control for access to the Dairy Farm and the Southern Warehouses. Depending if you hop from E or G, the building on Flag F can be fortified to provide protection against infantry advances.
Capture this elevated position and you can cover your team’s maneuvers to control the nearby Southern Warehouses as a distant overwatch.
Capture Point G: Southern Warehouses
A pair of warehouses mark the rear capture for the Allied forces. What was once a long-term storage for supplies is now a short-term storage for soldiers preparing a defense. Like the churches found on other capture points, the water tower here can be used for long range sniper defense.
The parked farm equipment and military trucks give cover against tanks trying to root out infantry.


