The time for the Battlefield V Al Sundan Map is upon us and we have waited a long, long time for this and finally it is here!
Below is some official Battlefield V Al Sundan Map Information that you might want to read.
UPDATED JUNE 27: Testing of Al Sundan has revealed some stability issues when playing the map on certain modes. Therefore, not every game mode intended for Al Sundan will be available when the map launches. We apologize for this and are working towards rolling out the remaining modes as soon as possible.
Battlefield V Al Sundan Map Overview
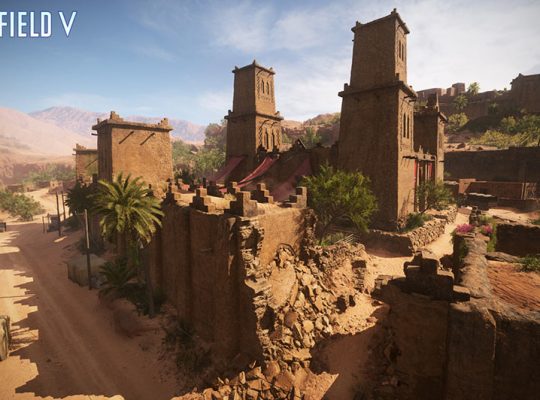
Al Sundan’s North African desert setting will be familiar ground. We’ve taken the vista used in the mission Behind Enemy Lines from the single player war story Under No Flag and doubled down on air and land vehicle combat. With this, the location has been optimized for all-out multiplayer action of the classic Battlefield™ variety.
You’ll engage alongside a lush desert coast and contrasting harsh environments. Axis forces have militarized the area with camps, a radar tower, and an airbase – and you must fight over possession of these critical points.
Al Sundan at a Glance
Units: Vehicles – Aircraft – Infantry
Size: Large
Tempo Slow-Moderate
Playstyle
On such a versatile map as Al Sundan, many playstyle opportunities are available. Make good use of this classic Battlefield sandbox to secure the win by utilizing vehicles, AT cannons, AA guns, planes, and transports. If you’re an infantry-focused player, you should stay around the Radar Station and the Village. Everything else around that caters to vehicle gameplay.
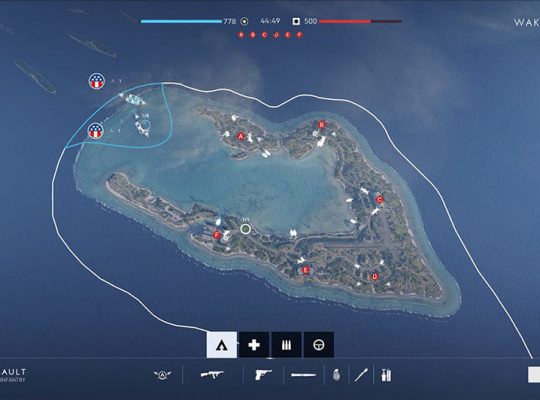
Key Areas and Conquest Capture Points
There’s literally a lot of ground to cover when talking about Al Sundan’s hot spots. Below, we’ll describe the flags from Conquest mode to give you an overview.
Capture Point A: The Airfield
A key point among all the key points, the Airfield and its extra planes will provide air superiority to the team owning it. Once captured, try jumping into a fast vehicle and head to the Shoreline Battery flag for a great flank.
Capture Point B: The Observation Post
A lonely house at the top of the mountain, cap this flag and get more transport vehicles for your team, along with a wide overview of the map.
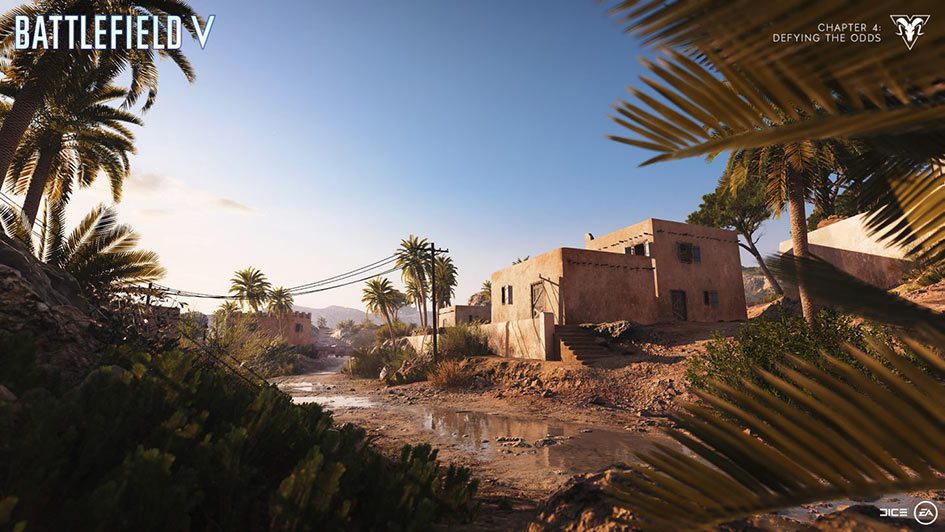
Capture Point C: The Village
Possibly Al Sundan’s most intense flag. Prepare for frantic infantry clashes among the houses and alleys of this vertical area. Stay alert: enemies can come from everywhere. To prevent vehicle attacks, construct and make good use of the many tank traps available.
Capture Point D: The Radar Station
This is the central flag of Al Sundan. Situated at the top of a hill, the Radar Station is an ideal defensive position to break any flank attempts from the wetlands.
Capture Point E: The Bridgehead
On Al Sundan, you’ll find a long bridge with superb fortification possibilities. This flag is a strong defensive point against any foe coming from the Village and the Radar Station.
Capture Point F: The Shoreline Battery
Somewhat hidden behind the mountain, the tactically important Shoreline Battery flag will give your team access to more tanks. Seize control of this and Flag A and you may just dominate both land and sky. Furthermore, owners of flag F are just a short hill climb from a good overview of the whole map.
Four Tips for Success on Al Sundan
Bring your hammer! There are quite a lot of Fortifications that you can build in the wetlands between flags E and D. Anti-Tank Cannons can be constructed on each point, too.
Bleeding enemy tickets is not the only benefit of capturing control points. The Airfield gives more planes to the team owning it, while the Shoreline Battery gives more tanks.
Be aware of the vast, open areas. Don’t run in a straight line in the open and bring smoke to stay hidden.
If you’re a pilot being chased by enemy aircraft, dive in the canyon to escape.