

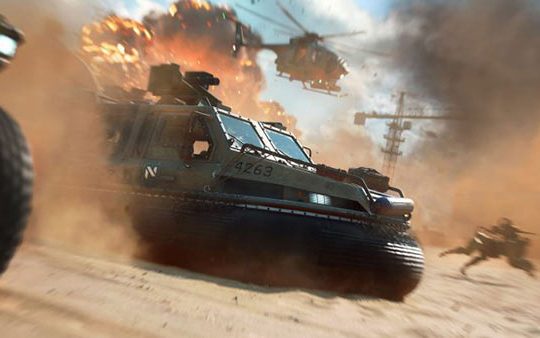


Battlefield V Rush Mode – 32-player Rush Mode is Back: Destroy the Objectives! The classic 32-player fight to bomb or disarm objectives returns in Battlefield V.
A 16 versus 16 experience, soldiers will enter the match on the attacking or defending team and must fight to control sectors by either bombing or disarming objectives.
Attackers must plant explosives on two objectives in the sector before running out their limited number of respawn tickets. Defenders need to hold the line and try to stomp the offensive or be forced to retreat.
Playing the Objectives in Rush
Like Battlefield V’s Breakthrough mode, the maps are divided into sectors, but are contested over artillery guns or communication stations, not Flags.
Pushing together is key to victory as a Rush attacker, because you’re no good to your team if you trickle in alone or hang back in the distance. Explore different strategies to reach objectives, break down defenses, or blitz through choke points – together.
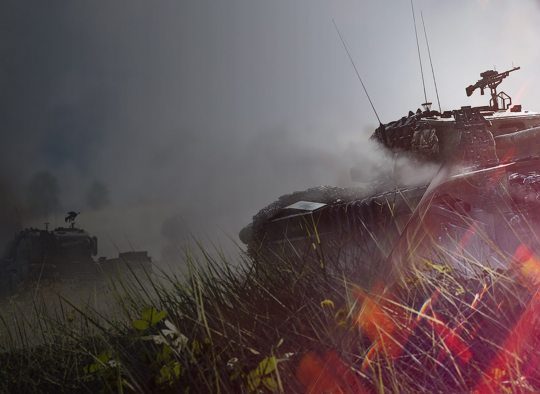
Defenders can dig in their heels with the help of pre-built and buildable Fortifications. These have been customized to tailor the Rush experience on each map to help defenders keep objectives guarded against the onslaught of attackers.
Rush is played sector to sector, and players will have to devise fresh tactics across three maps, which we’ll examine next.
Twisted Steel
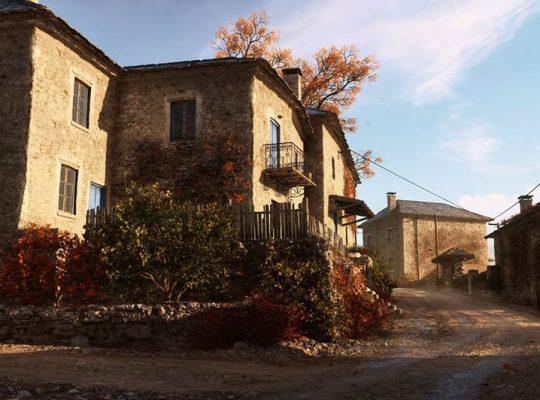
Expansive marshes and groups of villages are the site of this Rush map built for flanking and strategic movement.
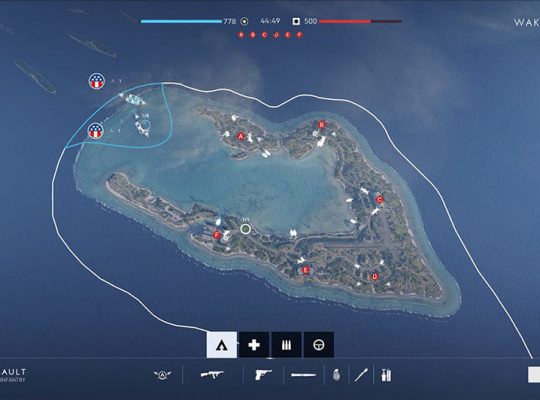
Sector 1 – Attackers begin on what is traditionally known as the G Flag on Conquest and will try and overtake the two side-by-side objectives at the roadblock near the steel bridge. Defenders have the high ground and tank husks to help protect a comm station, the A objective. The B objective, an artillery gun, is less obscured. Fortifications keep continuous attackers at bay, but there are wide flanks.
Sector 2 – The next sector concedes the bridge opening to the attackers, who will push toward an old village. Objective A is artillery parked in a backyard. Staggered behind it is objective B, a pallet of equipment behind tall brick fencing and sandbag Fortifications.
Sector 3 – Defenders here are huddled between two small bridges near a flooded farm. They have the benefit of a choke point and a river moat against attackers. The two objectives are again staggered. The A objective is a comm station inside a shed near the house and a small stone bridge. Objective B, artillery, is near two buildings that can be filled with very unhappy soldiers.
Sector 4 – This combat area is defined by the large body of water separating attackers from their objectives: an enclosed comm station and an artillery gun guarded by sightlines from nearby building windows.
Devastation
The close quarters of urban Rotterdam heighten the desperation to search for and destroy cramped comm stations objectives.
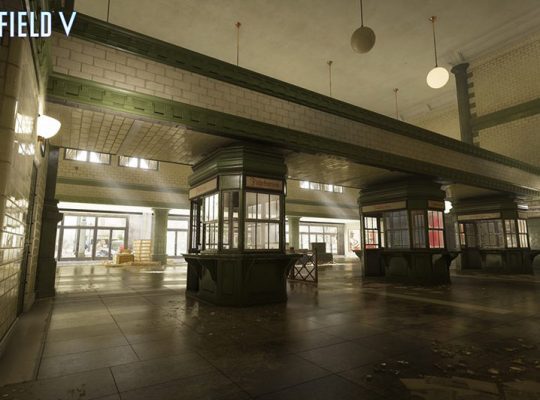
Sector 1 – Three floors of a bombed-out library separate attackers from their two comm station objectives. Conquest players will recognize the first sector as Flag B, a maze of charged walls and rubble.
Sector 2 – The large and ominous cathedral houses the next two comm station objectives, found near the burning pyres. Objective B rests on the balcony while A is susceptible to multiple attack routes.
Sector 3 – To the east is the cinema, ready for the final show. Whoever goes after objective A comm station is in the spotlight, as it’s found at base of the stage. Technically, objective B comm station is just outside the cinema, but that doesn’t mean you shouldn’t expect the same ruckus as waiting in line for opening night.
Narvik
Snowy expanses deceive attacking soldiers from threats hidden along the serpentine roads and villages.
Sector 1 – This starting sector is the familiar Flag E from Conquest on Narvik. The tug-of-war is over two objectives in a small town. There’s no clear path to the A objective comm station, and defenders can guard from several avenues at different heights. Although the objective B artillery gun sits in the open, remember that clear lines of sight work both ways.
Sector 2 – Attackers will force defenders deeper into the town but are now more susceptible to ambush, because the two comm station objectives are found in odd nooks and crannies.
Sector 3 – The third sector demands a division of responsibility, as the two objectives are slightly further apart and nearly on the same defensive line. Attackers can navigate a series of Fortifications and water tanks to go after A, the comm station, or take on the artillery gun at objective B, flanked by two large homes.
Sector 4 – Backs against the snow, defenders must shield a pair of artillery guns from demise.